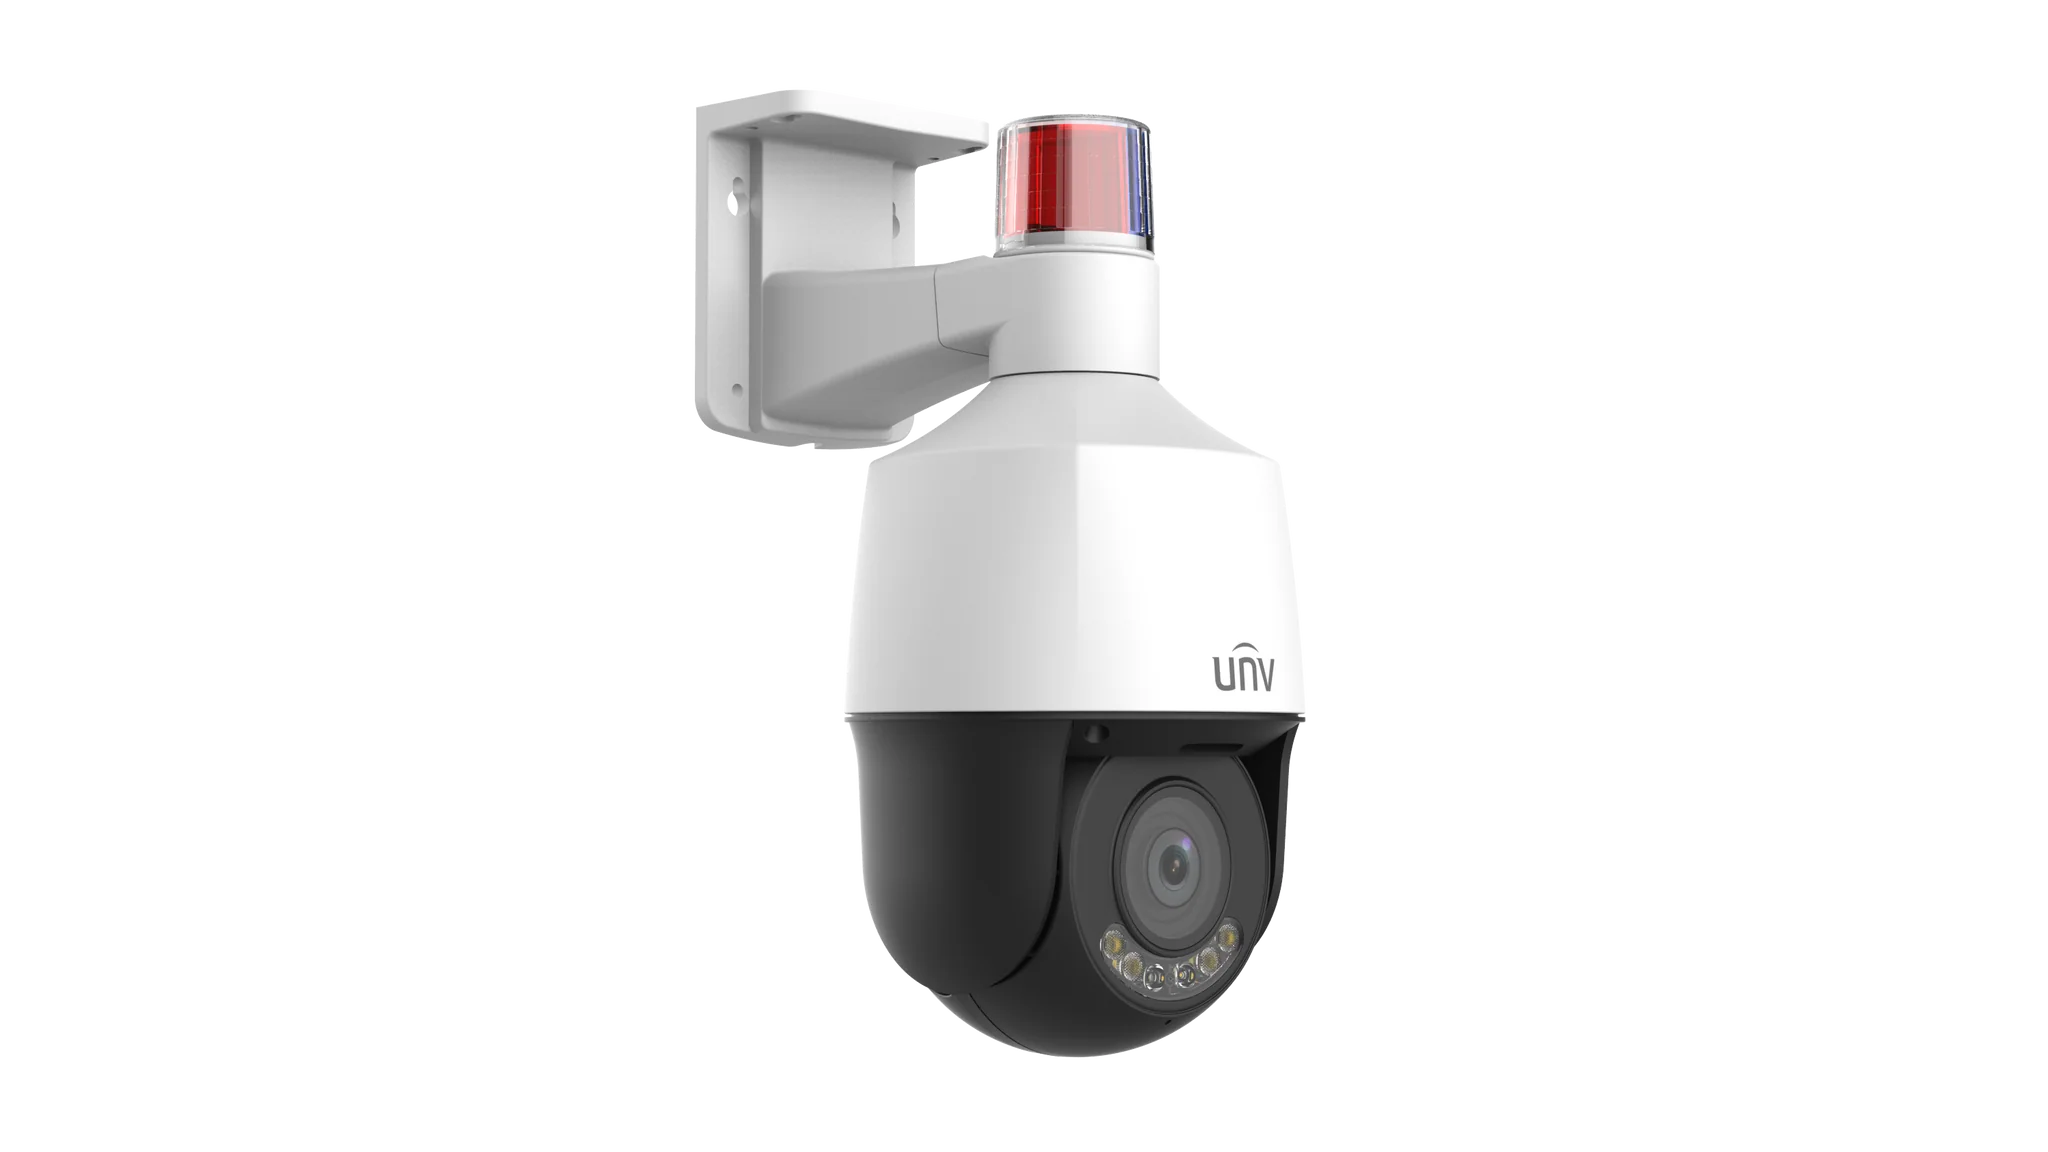
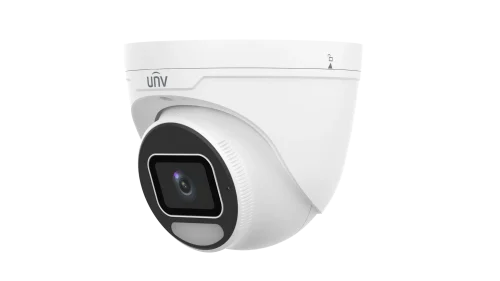
Before choosing the final model, write down the actual problem in plain English. A good brief might say: "rear roller door, poor lighting, repeated after-hours loitering, needs a clear event clip and manager notification." That is much more useful than simply asking for a better camera. The installer can then choose the lens, mounting height, light behaviour and recorder settings around the result the buyer actually wants.
For Australian sites, also consider who may be affected by the camera behaviour. A stronger low-light camera is usually quiet. A deterrence camera may use light or audio. A camera near a shared driveway, strata boundary, public footpath or neighbour-facing wall needs more care than a camera inside a private warehouse yard.
Practical buying scenarios
Small site: choose the simplest camera family that solves the evidence task. Medium site: separate identification views from overview views. Complex site: design the recorder, app handover, permissions and future expansion before choosing the most interesting camera model.
Quote-ready checks
- What exact incident or workflow is this page trying to solve?
- Which views need identification detail and which only need overview?
- Does the recorder or management platform support the finished camera count?
- What must be tested at handover: live view, playback, alerts, export, users and account ownership?
- Where would this system become the wrong choice and need a different product family?
For Uniview Tri Guard Cameras Buying Guide, the strongest Uniview quote should read like a site plan, not a box list. It should explain why each camera or recorder path is being chosen, where the buyer should avoid overbuying, and what happens if the site expands later.
Small, medium and complex examples
| Site size |
Practical direction |
What to avoid |
| Small |
Keep the system simple and solve the main evidence points first. |
Buying specialist features before the basic views are right. |
| Medium |
Plan recorder headroom, remote access and stage-two expansion. |
Filling the recorder or ignoring storage assumptions. |
| Complex |
Document permissions, network design, response workflow and handover. |
Choosing models without a support and review plan. |
This extra planning step is often what separates a useful Uniview system from a quote that only looks good on paper.
Uniview family field notes
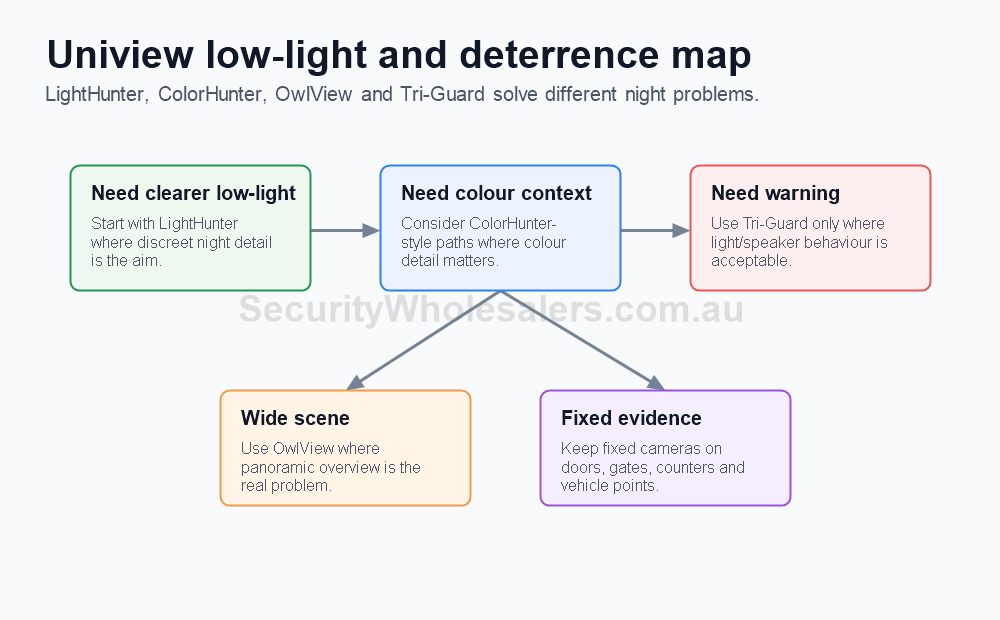
LightHunter: choose it where the buyer wants better low-light evidence without making the site visibly intrusive. OwlView: choose it where the problem is wide overview or blind spots, not tight identification. Tri-Guard: choose it only where light and speaker deterrence will be accepted.
Wrong choices: do not use OwlView where a doorway needs face detail, do not use Tri-Guard where neighbours or customers will hate warnings, and do not buy LightHunter if the real problem is camera placement or an undersized recorder.
Quote example: a small shop might use fixed turrets at entry and counter, LightHunter at the rear lane, and Tri-Guard only at the after-hours problem door.
Final buyer rule
The final Uniview choice should stay practical after install: useful views, sensible recorder headroom and a handover the buyer can actually follow.
Uniview family field notes
LightHunter: choose it where the buyer wants better low-light evidence without making the site visibly intrusive. OwlView: choose it where the problem is wide overview or blind spots, not tight identification. Tri-Guard: choose it only where light and speaker deterrence will be accepted.
Wrong choices: do not use OwlView where a doorway needs face detail, do not use Tri-Guard where neighbours or customers will hate warnings, and do not buy LightHunter if the real problem is camera placement or an undersized recorder.
Quote example: a small shop might use fixed turrets at entry and counter, LightHunter at the rear lane, and Tri-Guard only at the after-hours problem door.
Final buyer rule
The final Uniview choice should stay practical after install: useful views, sensible recorder headroom and a handover the buyer can actually follow.
Uniview family field notes
LightHunter: choose it where the buyer wants better low-light evidence without making the site visibly intrusive. OwlView: choose it where the problem is wide overview or blind spots, not tight identification. Tri-Guard: choose it only where light and speaker deterrence will be accepted.
Wrong choices: do not use OwlView where a doorway needs face detail, do not use Tri-Guard where neighbours or customers will hate warnings, and do not buy LightHunter if the real problem is camera placement or an undersized recorder.
Quote example: a small shop might use fixed turrets at entry and counter, LightHunter at the rear lane, and Tri-Guard only at the after-hours problem door.
Final buyer rule
The final Uniview choice should stay practical after install: useful views, sensible recorder headroom and a handover the buyer can actually follow.
Tri-Guard design examples
Rear door: Tri-Guard can be useful where after-hours loitering or attempted entry is a real issue. Schedule warnings carefully so the camera does not annoy staff or neighbours.
Front shop window: be cautious. Visible warnings can help deterrence but may be inappropriate in customer-facing areas. A quieter low-light camera may be easier to live with.
Small yard: pair Tri-Guard with fixed evidence views. The warning feature helps response, but the system still needs clean footage of who entered and where they went.
Tri-Guard is best treated as a targeted deterrence tool, not the default camera for every position.
Frequently Asked Questions
What is Uniview Tri-Guard?
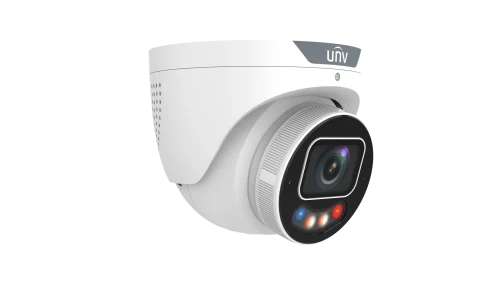
Tri-Guard is Uniview's active-deterrence camera path for selected scenes where warning light, audio or more obvious response is useful.
Where should Tri-Guard be used?
Use it on rear lanes, side gates, loading areas, yards and repeated after-hours problem points.
Does Tri-Guard replace alarms?
No. It supports deterrence and evidence, but higher-risk sites should still consider alarms, access control and response procedures.
How to quote Uniview Tri Guard Cameras Buying Guide properly
The practical value of Uniview Tri Guard Cameras Buying Guide comes from how well it solves feature selection on a real Australian site. A strong recommendation should talk about ambient light, nuisance alerts, active deterrence, colour night footage, privacy and whether the view needs identification or overview, because those details decide whether the system is useful after the installer leaves.
Use specialist features where they solve a named scene problem. A premium feature on the wrong view is still the wrong camera. This is where a good buying guide should help: it should make the trade-offs visible before the customer spends money, not after the first incident exposes a weak view.
Small site
For a small Uniview Uniview Tri Guard Cameras Buying Guide project, focus on the few views that would prove the most likely incident. It is better to have fewer well-planned cameras than more cameras that miss faces, plates, doors or night detail.
Medium site
For a medium Uniview Tri Guard Cameras Buying Guide site, separate identification views from overview views. Use stronger cameras where people, vehicles or high-value stock must be identified, and use practical overview cameras where the goal is movement context.
Complex site
For a complex Uniview Tri Guard Cameras Buying Guide site, plan the recorder, permissions and expansion path before finalising cameras. Larger jobs often fail because the hardware is good but the storage, network or user workflow was never properly designed.
What a 95/100 Uniview quote should include
- A short explanation of what each recommended camera is expected to prove.
- Enough recorder storage and spare channels for realistic future expansion.
- Notes on night performance, glare, weather exposure, mounting height and service access.
- A simple handover plan covering app access, playback, footage export and user permissions.
For Uniview Tri Guard Cameras Buying Guide, the best buying decision is the one that still feels obvious six months later. If the buyer can understand why each device was chosen, how footage will be found, and where the system can grow, the quote is far more likely to deliver long-term value.
Final checks before ordering Uniview Tri Guard Cameras Buying Guide
Before ordering Uniview Tri Guard Cameras Buying Guide, ask the installer or sales team to describe the weakest part of the proposed design. That question is useful because every security system has a trade-off: lens width versus detail, deterrence versus discretion, recorder cost versus retention, or simplicity versus future expansion.
For Uniview Tri Guard Cameras Buying Guide, the better Uniview purchase is usually the one with a clear explanation rather than the longest specification sheet. The quote should say which views are for identification, which are for overview, which settings need commissioning, and which parts of the system should be reviewed after the first few weeks of real use.
A final practical check for Uniview Tri Guard Cameras Buying Guide is supportability. Choose a system that can be explained to the person who will actually use it: how to open the app, find yesterday's event, export a clip, add a user, and understand when a camera or recorder needs attention. That day-to-day clarity is what separates a decent product list from a genuinely useful Uniview security solution.
How to plan Uniview Tri-Guard Cameras Buying Guide properly
The practical value of Uniview Tri-Guard Cameras Buying Guide comes from how well it solves camera placement on a real Australian site. Before comparing model numbers, work through lens width, mounting height, blind spots, night glare, service access and evidence quality. Those details decide whether the system is useful in six months or merely impressive on the day it is installed.
Placement should be decided by what the footage must prove, not by where the wall happens to be easiest to reach. A strong quote should explain which parts of the job are essential, which parts are optional, and where spending extra will actually improve evidence, safety, access control or response.
Small site
For Uniview Tri-Guard Cameras Buying Guide, keep the design focused. Cover the highest-risk entry points or workflows first, choose equipment that is easy to use, and avoid adding features that nobody will maintain after handover.
Medium site
Separate critical views or doors from general coverage. Plan users, permissions, storage, power and network paths before filling every channel or controller output.
Complex site
For Uniview Tri-Guard Cameras Buying Guide, document zones, responsibilities and expansion. Larger sites need a staged design so the system can grow without replacing the recorder, controller, cabling or user workflow too early.
What a 96/100 recommendation should include
- A plain-English description of the incident, access event or workflow the system must solve.
- Enough headroom for likely expansion, extra users, additional cameras, extra doors or future monitoring.
- Installation notes covering cabling, power, mounting, weather, lighting, service access and handover.
- A clear explanation of what the buyer should not overbuy and what would be a false economy.