


Commercial
Akuvox SmartPlus Setup Guide for Homes and Small Sites
Akuvox intercoms

How to plan an Akuvox intercom system
Treat the project as a small access-entry system, not just a screen beside a door. The buyer is really choosing how visitors call in, how residents or staff answer, how the door or gate releases, how users are managed, and how the system will be supported after installation.
A useful Akuvox design starts with the physical entry. A front gate, apartment lobby, warehouse staff door and small office reception may all use the same brand, but they do not need the same hardware. The best product is the one that fits the cable path, entry hardware, user workflow and future expansion.
Pre-purchase specification questions
Start with the site story: is this a new build, a retrofit, a gate, a single home, a small business or a multi-tenant building? Then decide whether the site needs an indoor monitor, mobile app answering, keypad or credential access, and a door or gate release.
The next layer is cabling. New Cat6 or structured cabling usually points toward an IP or PoE path. Existing intercom cable may point toward 2-wire, but only after the cable condition and topology have been checked. The wrong cabling assumption is one of the fastest ways to turn a good product into a frustrating install.
Common specification mistakes
The first mistake is buying a door station before deciding how people will answer calls. If the site needs a fixed answer point, choose the monitor path early. If it relies on mobile phones, confirm internet, accounts, app permissions and handover.
The second mistake is treating door release as an accessory. Electric strikes, maglocks and gates behave differently. The release circuit may need a separate power supply or controller, and safety or egress requirements can matter on commercial doors.
The third mistake is choosing only for today. If a site may add a second door, another monitor, more tenants, or access control later, it is worth planning the system structure before ordering the first box.
Setup order matters
A clean SmartPlus setup usually follows a sequence: installer or admin account first, site or residence second, device binding third, user creation fourth, live testing last.
Many support calls happen because users were created before the hardware was properly bound, or because a family member was given the installer login instead of their own end-user account.
Admin versus user
The admin or installer path should control setup and site structure. End users should have their own access for app calling and release. Mixing those roles makes future support harder.
For businesses and strata sites, this distinction is essential because staff and residents change over time.
Testing before handover
Test the actual call button, monitor, app notification, audio, video and release. Do not rely on a device showing online as proof that the whole workflow is correct.
Write down the site name, user list, admin ownership and what to do if a phone stops ringing.
App calling setup that avoids support headaches
| Decision | Recommended approach | Reason |
|---|---|---|
| Family home | Give each regular user their own app account and test calls on their actual phone. | Shared logins make troubleshooting and offboarding harder. |
| Rental or Airbnb-style property | Keep admin ownership separate from temporary users. | The owner or manager should not lose control when occupants change. |
| Small office | Create users by role or person, then document who can remotely unlock. | Remote unlock is convenient, but it should not be available to every staff member by accident. |
| Apartment resident | Use clear unit naming and a move-out removal process. | Resident changes are the normal operating reality of apartment intercoms. |
Premium indoor monitor choices
| Monitor path | Where it fits | Buyer note |
|---|---|---|
| X937A 15.6-inch smart indoor surveillance and intercom monitor | High-end residences, concierge-style desks, executive offices and sites that want a large control-point display. | This is the premium monitor path where screen size and presentation matter. Check wall space, power/network path and user expectations before choosing it. |
| S567G 10-inch Android indoor monitor | Homes, apartments and offices that want a larger modern screen without going to a very large display. | A strong middle-to-premium option when the monitor will be used often and should feel like part of the building, not an afterthought. |
Fast selector
| If the site looks like this | Start with this Akuvox path | Reason |
|---|---|---|
| Existing intercom cable and disruption is a concern | 2-wire retrofit assessment | May save labour where cable is suitable. |
| New build or easy cable route | IP or PoE intercom path | Cleaner long-term network foundation. |
| Front gate or driveway entry | Gate intercom with app/monitor and gate trigger plan | Gate release, weather and visitor position need planning. |
| Apartment or shared building | Multi-tenant plan with resident onboarding | User management matters as much as the panel. |
| Office, clinic or warehouse | Door station, monitor and controlled release path | Staff roles and after-hours answering need structure. |
Recommended SecurityWholesalers Akuvox product paths
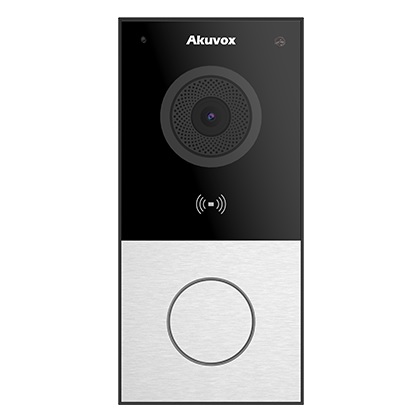
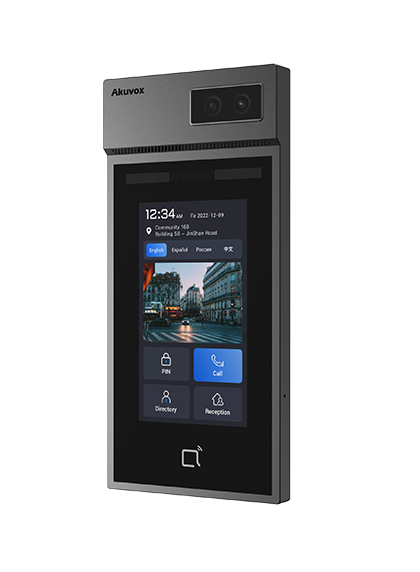
Akuvox E12W SIP video door phone
Useful for: compact front doors, small offices and homes where Wi-Fi or a compact IP door station is desirable.
Check first: mounting position, Wi-Fi reliability, sun/rain exposure and whether an indoor monitor is required.
Akuvox E12S and C313N IP intercom kit
Useful for: small new-cable installs needing a door station and indoor answering point in one practical path.
Check first: PoE/network availability, monitor position and app-user handover.

Akuvox R20A-2 and C313W-2 2-wire kit
Useful for: retrofit homes, townhouses and small shared entries where existing 2-wire cable may be reused.
Check first: the old cable condition, topology, release hardware and whether the job needs more than one monitor.
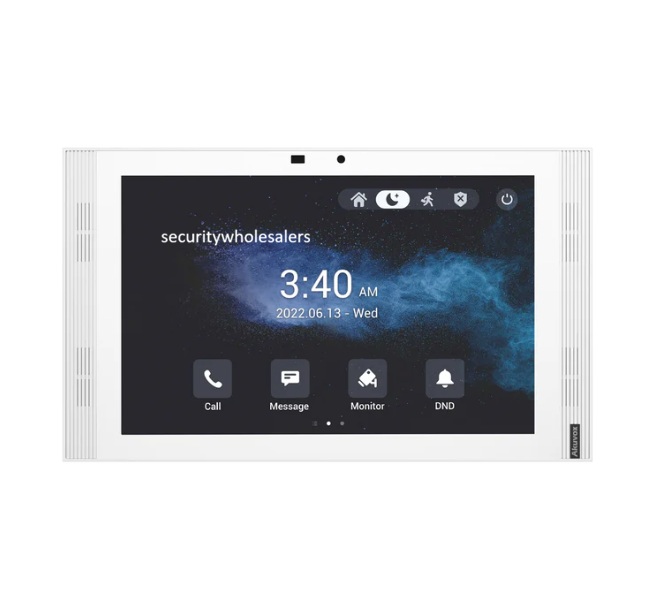
Akuvox S567G white 10-inch Android indoor monitor
Useful for: homes, apartments and offices that want a larger modern indoor monitor without stepping into a very large command-screen style display.
Check first: mounting location, user interface expectations, network/power path and whether multiple monitors are required.
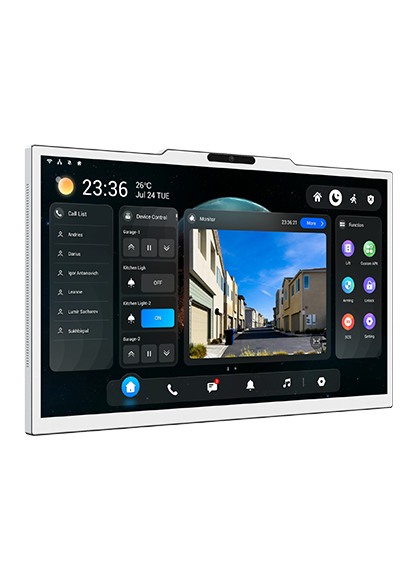
Akuvox X937A 15.6-inch smart indoor surveillance and intercom monitor
Useful for: high-end homes, concierge desks, executive offices and sites that want a large premium indoor intercom display.
Check first: wall space, power/network path, user expectations and whether the monitor is acting as a main control point.
Real quote scenarios
| Scenario | Practical Akuvox design | Why this makes sense |
|---|---|---|
| Large home with front gate and indoor answering | Door station at the gate, indoor monitor in the main living area, app users for family members, and a relay path into the gate controller. | This keeps the everyday user experience simple while still allowing remote answering when nobody is near the monitor. |
| Office or clinic reception entry | IP door station with monitor at reception, app access for managers and a release path matched to the electric strike or maglock. | Reception can answer quickly while after-hours access stays controlled. |
What the finished system should specify
Before ordering, the buyer should be able to point to the entry location, the door station style, the cable path, the answering method, the release method and the handover plan. If any of those items are missing, the devices may still arrive, but the finished system may not match the way the site actually works.
For a home, specify who answers when someone presses the door station, whether the indoor monitor is the main answer point, whether family members receive app calls, and what happens if internet is down. For a business, specify reception, after-hours users, staff access and who can change app users later. For strata, specify resident onboarding, offboarding and management ownership.
Practical commissioning checks
Commissioning should be more than powering the devices and seeing a picture. Press the physical call button, confirm the monitor rings, confirm every intended app user receives a live call, test two-way audio, test video, test the release several times, and confirm the door or gate behaves the right way after the release.
The installer should also check naming. Door station names, monitor names and app-user names should make sense to the owner. A support person should be able to look at the site later and understand which device belongs to the front gate, lobby, staff door or reception entrance.
Where low-cost choices create risk
The cheapest Akuvox path is not always the lowest-risk path. A cheaper door station can become expensive if it is installed in the wrong location, if Wi-Fi is unreliable, if the release circuit needs redesigning, or if the site later discovers it needed a monitor, keypad, second door station or multi-user support.
The opposite is also true: not every site needs the biggest system. A small office, clinic or home may be better served by a clean compact system with excellent handover than by an overbuilt system nobody understands. The real value is fit, not headline specification.
What to photograph or document before ordering
For retrofit jobs, photograph the existing door station, handset, cable terminations, power supply, lock hardware and any visible control equipment. For gate jobs, photograph the gate controller area, post or pillar, cable route and visitor stopping position. For apartment jobs, photograph the lobby panel, old handsets, riser or distribution areas where accessible, and the release hardware.
Those photos help turn a vague product enquiry into a proper recommendation. They also reduce the chance that a good Akuvox product is blamed for a site condition that should have been identified earlier.
Handover standard
A strong handover gives the owner confidence. The buyer should know the admin owner, the end-user accounts, the app used, the monitor location, how remote unlock is intended to work, and where to start if a phone stops ringing. For businesses and strata, the handover should also explain how users are added or removed.
This is especially important with Akuvox because the system is often chosen for app calling and smart entry. Those benefits only stay useful when account ownership and user management are clean.
Installer and buyer checklist
- Confirm whether the site is retrofit, new cable, gate, apartment, home or business.
- Write down who answers calls: indoor monitor, mobile app users, reception desk, managers or residents.
- Confirm the door or gate release hardware before promising unlock behaviour.
- Check internet and network reliability when app calling is important.
- Decide who owns admin access and who receives end-user accounts.
- Document camera angle, mounting height, power, cabling, lock release and final test results.
Akuvox SmartPlus Setup Guide for Homes and Small Sites FAQs
-
Is Akuvox a good intercom brand?
Akuvox is a strong option when the buyer wants a modern IP or 2-wire intercom with app calling, indoor monitors and flexible entry workflows. The best result still depends on choosing the correct cabling path, door station, monitor and release hardware.
-
Is Akuvox better than a basic video doorbell?
For many installed security projects, yes. Akuvox is more of an intercom and access-entry platform, while a basic consumer doorbell is usually a simpler notification device. Akuvox is usually the better path for gates, offices, shared entries, indoor monitors and proper release wiring.
-
Does Akuvox need internet?
Local calling between a door station and indoor monitor may be designed differently from app calling. Mobile app answering and remote unlock normally need a reliable internet path and correct cloud or user setup.
-
Can Akuvox unlock a gate or door?
Yes, but the release path must be designed correctly. The intercom, relay, lock, gate controller, power supply and egress requirements all need to match.
-
Can Akuvox replace an old 2-wire intercom?
Often it can, where the old cable and topology are suitable. The existing cable should be inspected rather than assumed, especially on apartment, townhouse and long-run retrofit jobs.