















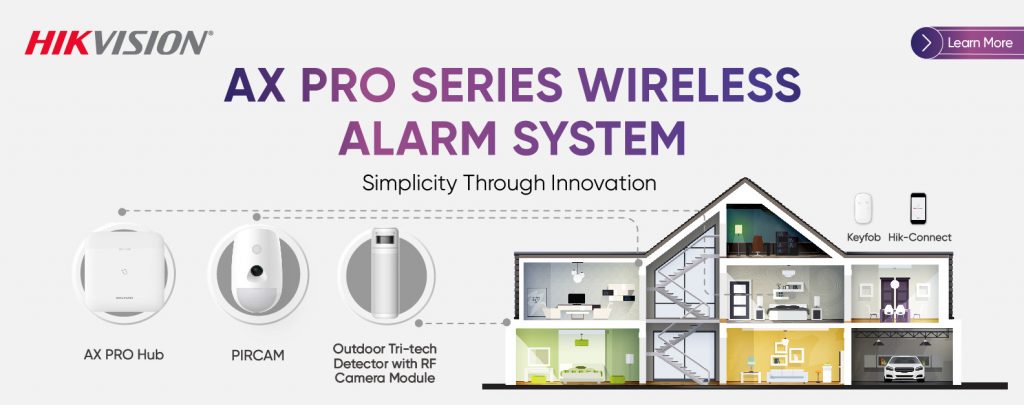
Hikvision AX PRO Unboxing and Configuration Video – Full Setup Video
Hikvision AX PRO Unboxing and Configuration Video from SecurityWholesalers.com.au. Buy your Hikvision alarm products from SecurityWholesalers.com.au
Simple Hikvision AX PRO Setup Using Ethernet
- Connect the AX PRO to the modem/router
- Plug an Ethernet cable from the LAN port on the AX PRO into any LAN port on the modem/router.
- Connect the AX PRO power supply and switch the panel on.
- Give it a minute or two to connect to the network. Hikvision supports initial setup directly over Ethernet.
- Install Hik-Connect
- Download the Hik-Connect app on your phone.
- Create a Hik-Connect account or sign into your existing account.
- Add the AX PRO
- Open Hik-Connect.
- Press the + button.
- Choose Scan QR Code.
- Scan the QR code located on the AX PRO panel.
- Follow the prompts to activate/add the panel.
- Add the PIR
- Make sure the PIR has its battery installed and is powered.
- Open the AX PRO inside Hik-Connect.
- Go to the Device/Peripheral section.
- Press +.
- Scan the QR code on the PIR.
- Give it a name such as Lounge PIR, Hallway PIR, etc.
- For a normal movement detector, generally leave it as an Instant intrusion zone unless you specifically need an entry/exit delay. Hikvision’s AX PRO allows peripherals to be enrolled by scanning their QR codes.
- Repeat for the remaining devices
- Keep following the same process for every PIR, door contact, keypad, siren and other wireless device:
- AX PRO → Add Peripheral / + → Scan QR Code → name the device → save.
- If there are keyfobs/remotes, these are normally assigned under the relevant user’s Keyfob/Tag section rather than added as a standard detector.
- Test the system
- Check that every device shows Online.
- Walk in front of each PIR and confirm movement is detected.
- Arm the system and test that the PIR generates an alarm.
- Confirm the Hik-Connect phone receives the alarm notification.
Important: Leave the Ethernet cable connected permanently. There is no need to configure Wi-Fi if the AX PRO is staying connected directly to the modem/router by Ethernet.