


Choosing the Right CCTV System for Schools: A Buyer’s Guide
A high-quality CCTV system is a critical part of a modern school’s safety and risk management strategy. But it’s not just about buying cameras — it’s about designing a system that truly meets your school’s needs, complies with legal obligations, and remains reliable for years to come.
Below is a comprehensive, fully explained checklist you can use to plan your system properly.
✅ 1. Define Your Objectives — What Problem Are You Solving?
Before looking at hardware, clarify why you’re investing in CCTV, because this determines what type of cameras, features, and system you’ll need.
Ask yourself:
-
Are you primarily trying to deter and reduce vandalism or graffiti?
-
Do you need to improve student safety in playgrounds and corridors?
-
Are you concerned about unwanted visitors and unauthorised access to school grounds?
-
Do you need evidence to support investigations of incidents and protect staff against false allegations?
-
Is your goal to improve after-hours security, particularly for high-value equipment rooms or car parks?
Example:
One regional high school identified repeated vandalism of the boys’ bathrooms and thefts from lockers. Their priority was cameras positioned discreetly in hallways outside toilets and in locker areas, with high resolution to identify faces and vandal-resistant housings.
By having clear objectives, you can avoid wasting money on unnecessary features or poor placement and ensure the system delivers measurable benefits.
✅ 2. Assess the Areas You Need to Cover — Map Your Risks
Walk through your site and consider everywhere incidents could occur. Don’t just think about today’s needs — consider how enrolment growth or new facilities might change things.
Key areas to consider:
-
Entrances & exits: Who enters and leaves? Many schools overlook side gates or staff-only doors. These are also useful for monitoring deliveries and late arrivals.
-
Hallways & stairwells: High-traffic areas that are often unsupervised between classes and hotspots for bullying, pushing, or horseplay.
-
Playgrounds & sports fields: These can be dangerous due to rough play or injuries, and large open spaces make incidents harder to spot in real time.
-
Carparks & bus zones: Busy during drop-off/pick-up times; helps protect against vehicle damage claims, fights between parents, or students darting into traffic.
-
Perimeter fences & gates: A good deterrent against trespassers, former students, or unauthorised access, especially at night or on weekends.
-
Reception & offices: Essential for visitor management, ensuring anyone who enters signs in properly.
Tip: Use a floor plan of your school and mark up all areas you’d like covered. Then prioritise them based on risk level and budget.
✅ 3. Choose the Right Camera Types — Pros and Cons of Each
Once you know the areas to cover, you can decide which camera shapes and features best suit each location.
Most schools choose fixed cameras, but PTZ (pan-tilt-zoom) cameras have specific use cases.
Fixed Cameras:
-
Dome cameras: Best for indoor use and outdoor covered areas. They’re discreet, vandal-resistant, and hard for students to tamper with or tell where they’re pointing.
-
Turret cameras: Similar to domes but easier to clean and maintain. Great outdoors, especially for areas that get dusty or wet.
-
Bullet cameras: Highly visible and good for perimeters or long corridors where you want a clear, intimidating presence.
PTZ Cameras:
-
Can pan, tilt, and zoom to follow subjects or patrol a large open area.
-
Best for sports fields or ovals where a single camera needs to cover a lot of ground.
-
⚠️ Requires a staff member actively monitoring or pre-programming patrol patterns — otherwise, it can miss key events when it’s facing the wrong way.
Best practice: For most schools, it’s better to use multiple fixed cameras with overlapping coverage than rely on one PTZ.
✅ 4. Specify Technical Features — Don’t Overpay, Don’t Underspecify
Schools often get caught up in flashy specifications, but what you really need are practical, reliable features.
Key specs to prioritise:
-
Resolution: At least 4MP (1440p) for hallways and entrances. Use 6–8MP (4K) for wide open areas where you may need to zoom in.
-
Night vision: Make sure infrared range matches your largest outdoor areas (30–50m is typical for school yards).
-
Vandal and weather resistance: Look for IK10-rated housings for impact resistance and IP66/IP67 for weather sealing.
-
Basic analytics: Optional features like line crossing or loiter detection can help monitor fences or restricted areas.
Example:
An outdoor basketball court camera failed in the first winter because it wasn’t rated for rain and dust. Don’t compromise on build quality — school environments are tough on equipment.
✅ 5. Decide on Recording & Management — NVR vs VMS
The recording and management platform is the heart of your system.
NVR (Network Video Recorder):
-
Appliance that records up to 8/16/32/64 cameras.
-
Plug-and-play, affordable, and easy to use.
-
Best for schools with up to 32–64 cameras.
Approximate cost: $1,500–$3,000 for a 32CH NVR (excluding cameras and drives).
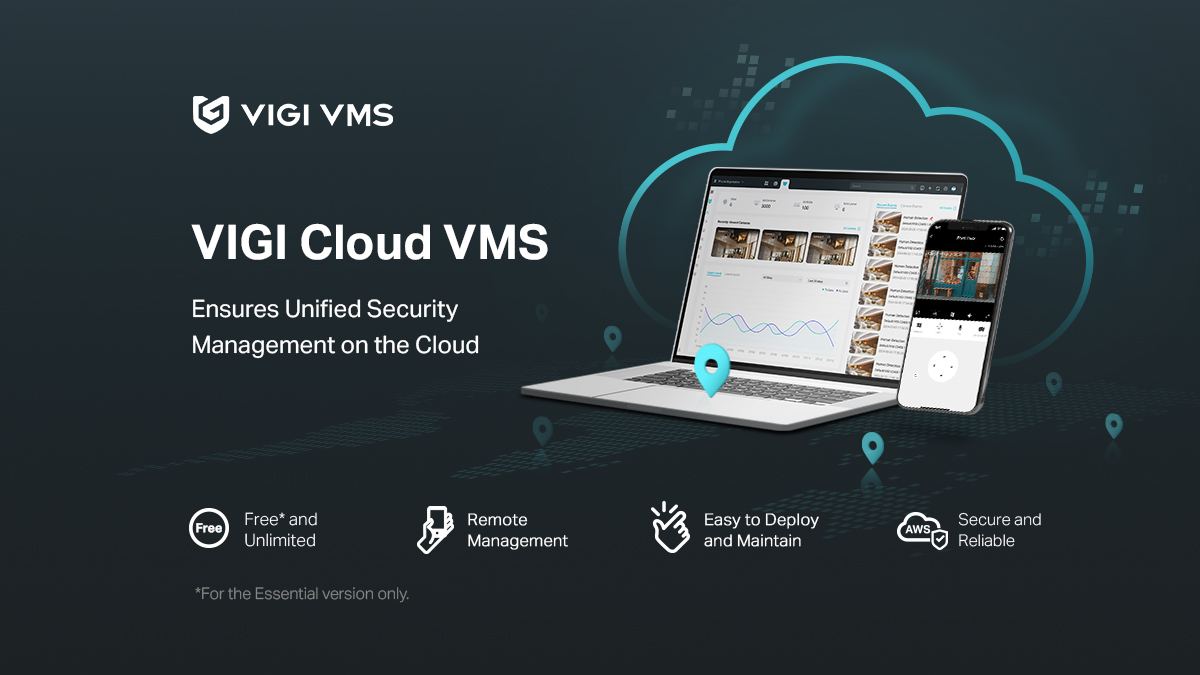
VMS (Video Management Software):
-
Runs on a dedicated server and is licensed per camera.
-
More scalable and flexible — suitable for large campuses or multi-site schools.
-
Advanced analytics, better integration with alarms, access control, and reporting.
Approximate cost: $4,000–$6,000 for NX Witness with 32 cameras (excluding server).
Recommendation: If you’re a small to medium school, go with NVR. If you’re a large or growing campus or want advanced features, consider VMS.
✅ 6. Plan Storage & Retention — How Much is Enough?
Decide how long you need to retain footage — most schools keep recordings for 30–90 days, longer only if an incident is under investigation.
Factors to consider:
-
Resolution: Higher res uses more storage.
-
Frame rate: Faster recording uses more space.
-
Motion detection: Helps save space by only recording when something happens.
Work with your installer to size your hard drives correctly — schools often underestimate how much storage is required.
✅ 7. Remote Access & Security — Who Can See What?
Make sure your system allows authorised staff (like the principal or facilities manager) to securely view footage remotely if needed.
✅ Set strong passwords and restrict access to a small group of trained staff.
✅ Change default login credentials immediately after installation.
✅ Make sure footage is encrypted or otherwise secured against unauthorised access.
✅ 8. Budget Realistically — Don’t Just Look at Cameras
Plan for the whole project:
-
Cameras: $150–$500 each depending on specs.
-
NVR/VMS and server.
-
Cabling, PoE switches, racks.
-
Installation labour.
-
Optional: monitors, UPS battery backups, signage.
Rule of thumb: Budget around $8,000–$20,000 for a 16–32 camera system with mid-range specs.
✅ 9. Stay Compliant & Respect Privacy
Australian schools must comply with privacy laws and workplace surveillance laws.
-
Never install cameras in private areas like toilets or change rooms.
-
Clearly signpost that CCTV is in use.
-
Inform parents and staff through handbooks and policies.
-
Document who can access footage and under what conditions.
Tip: Have your lawyer or board review your CCTV and privacy policies.
✅ 10. Plan for Growth — Design for Tomorrow
Your school will change over time — make sure your system can grow with you.
-
Leave spare capacity on your NVR or VMS license.
-
Use oversized PoE switches to accommodate extra cameras.
-
Choose a vendor or installer who can support you as needs change.
Example: One school budgeted for 16 cameras but installed a 32CH NVR so they could add more cameras later without replacing the recorder.
Final Words
CCTV in schools isn’t just a set of cameras — it’s a system designed around your specific needs and risks.
By following this checklist, you can ensure your investment is well-planned, cost-effective, and delivers long-term value while keeping your school community safe and compliant.

CCTV Cameras for High Schools

School CCTV Installation Guidelines

Complete School Security Systems


Top 5 School Security Risks & How CCTV Helps

Balancing Privacy & Security with CCTV in Schools

A Step-by-Step Guide for Principals & Administrators


Sample School Privacy Policy (includes CCTV)
")
Sample Incident Access Protocol — CCTV Footage

Sample CCTV Access Request Form Template

